Let’s not get moralistic, okay? There can be many reasons for using a VPN, it is not necessarily to view illegal content online. It is quite possible that you quite officially want to visit Netflix in the U.S., which offers content not available anywhere else.
Although the word “official” does not fit here. According to the terms of the service, access from another country via VPN is a violation of the license agreement, so you can lose your subscription.
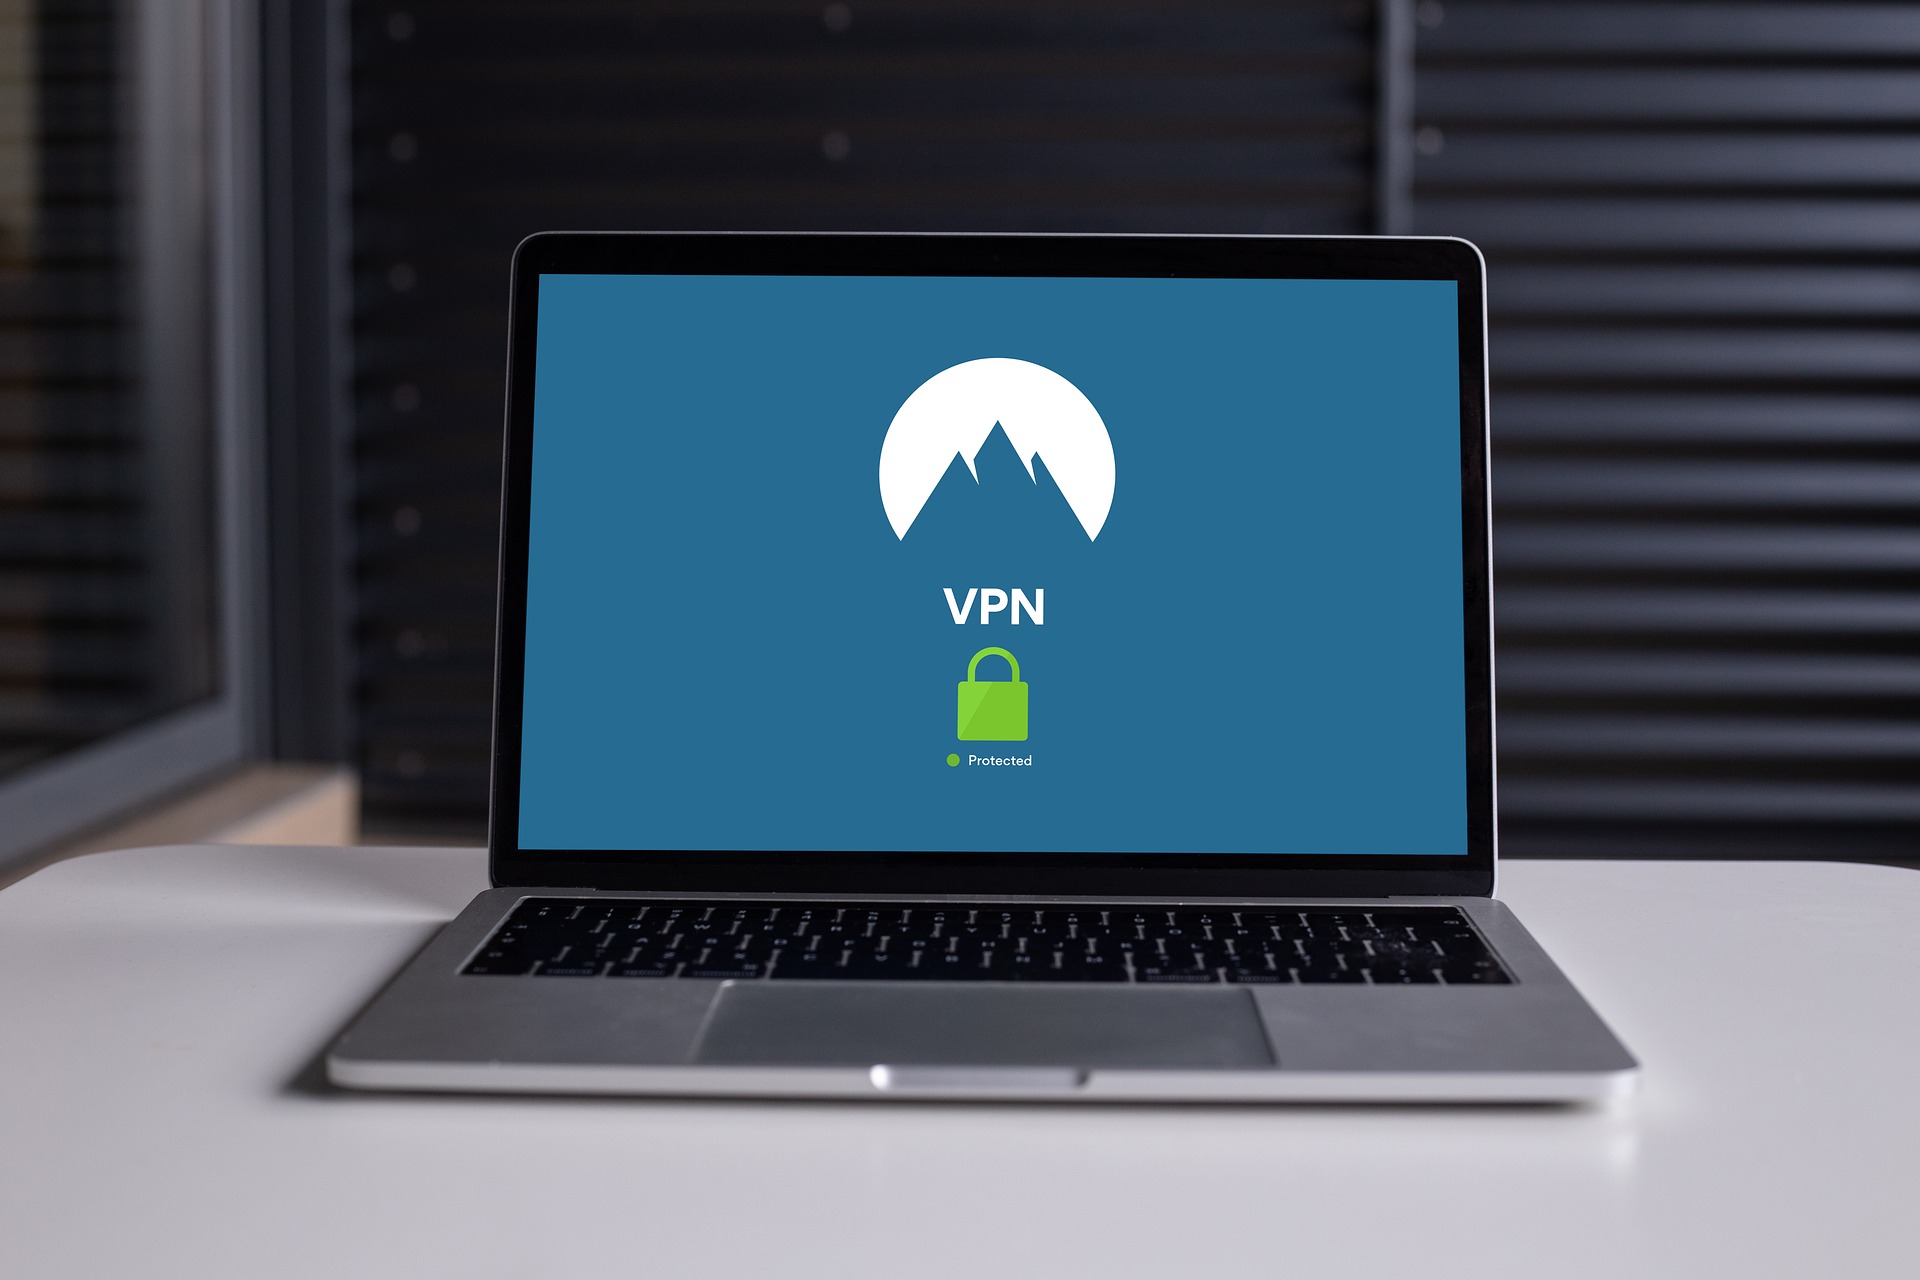
In general, whatever your goals are, all the responsibility lies solely on you. I’ll just tell you how you can set up a VPN on your Apple TV. As it turns out, it’s not difficult at all.
– First, you need to get an IP address from your VPN provider. Let’s take VPN Unlimited as an example. These guys specifically tailor their services to different systems, including Apple TV.
– Turn on the set-top box and go to Settings – Basic and scroll down the menu to the Language and Region section. Here you need to change the iTunes store region to that of your VPN provider. If you will be using VPN, set the US region.
– Next, go to “Settings” – “Network” – “Wi-Fi” and go to the DNS settings in your connection by changing the value from “Automatic” to “Manual”.
– Now you need to enter the IP address you got from the VPN provider and click “Done” to save the settings.
– Please note that after all these manipulations it is necessary to restart the device to make all the settings finally applied.
You can now use a VPN on Apple TV. Don’t forget that you have to pay to use the service.
By the way, the service also provides settings for the router. Thus, once you set up a VPN on it, all your devices connected to the home Wi-Fi, will automatically use the service.